Course designing can be one of the most challenging parts for new course creators. Let’s explore how to design your online course without losing too much time and sanity – even if you have no designing experience.
While course design might seem like a challenge, it can actually be quite an enjoyable process even for those who are not quite sure how to make it happen.
Let’s review this simple step-by-step guide to designing your own online course.
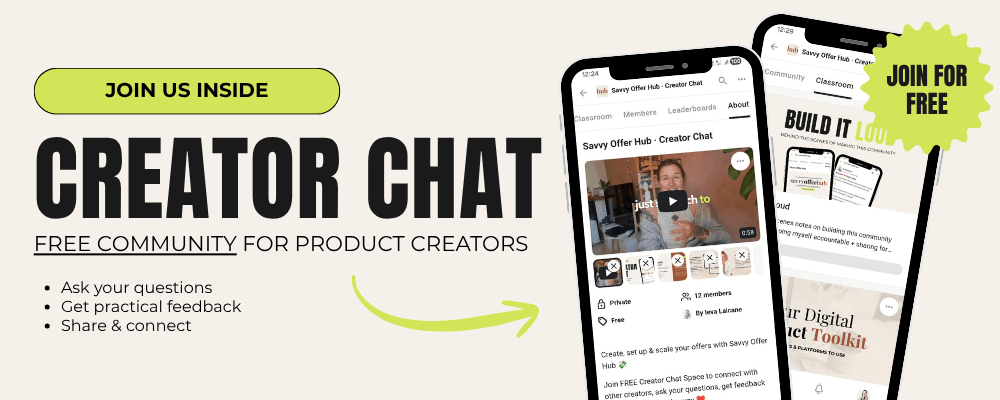
For more guides on how to design your own online course, make sure to join us in Your Course Creation Membership.
Disclaimer: This blog post includes affiliate links.

Can I design my own online course?
YES. YOU. CAN.
In fact, most people do. Even with little to no previous designing experience.
The truth is, your course design will not make or break the success of your offer. You don’t have to be a professional designer or have extensive design experience to learn how to design your own online course.
My clients from plenty of different walks of life have successfully made their own courses so I say it with the most confidence – yes, you can design all of your own course materials.
Now, let’s explore exactly how.
How to design your own online course?
STEP #1: Understand what educational materials you will need
What type of learning materials will make the most sense for your online course?
Here’s the thing. I believe in creating an offer that suits YOUR vision. There are no right or wrong way to create an online course, make sure to evaluate what makes the most sense and suits your teaching style.
Do you want to create slides? They are one of the most common ways of presenting the content but if slide creation doesn’t seem like a good fit, consider other options…
If you love being in front of camera and would love to do “talking head” videos instead – go for it.
Consider if you need additional workbooks or any other materials.
I usually love to track this in a Spreadsheet where I lay out all of my lessons and mark what needs to be done for each.
STEP #2: Choose the best fit tools and platforms to use
My initial suggestion would be to go with Canva if you’re a new creator with no design knowledge.
Canva is a free online tool that gives you a chance to easily design any of the necessary course elements, as well as any other graphics necessary for online business.
However, let’s keep an open mind! There are plenty of different designing tools that can be used.
First of all, keep in mind any of your existing experiences or preferences. If you are already familiar with any designing tools, it might be the easiest choice to just go with that.
Possibly you have some background experience with Photoshop or any other pro-level tools. Or maybe you’ve used platforms like PicMonkey for picture editing. Either way, you can consider the options you are already familiar with.
The next thing to keep in mind is which platform would you be open to LEARNING.
See, the course creation process will take quite a lot of your time as it is. But there is no harm in wanting to learn a new program along the way. Maybe it’s time to give InDesign a try?! Or maybe now is the perfect moment to get on Canva?
Give yourself a chance to learn this new, tempting platform that you might’ve already been looking at.
STEP #3: Set your brand guidelines
If you already have an existing brand guidelines that you’re using in your business, you can take that into your course as wll – if it’s aligned with your offer.
But if you’re in the starting phases of this journey, you might not have a solid brand guide just yet.
Here are some steps to follow:
- Start by exploring the direction you want to take. Pinterest is an amazing source of inspiration. Search relevant keywords like “playful branding” or “corporate brand samples” – whatever it is that you feel will be the best aligned with you.
- Gather your ideas in one space and notice the patterns – colors you love the most, fonts that you love.
- Open Canva and save some of those pictures in a Canva board. From there you can start creating your brand guide – save the colors and fonts you want to reuse.
For fonts, you will want to have one headline font and one paragraph font. Additionally, consider one accent font if it makes sense for you.
For colors, the ideal setup would include 2-3 lighter background colors that can be reused for various design elements and 1-2 accent colors that will be more outstanding and will work well for elements like buttons.
We talk more about all of this inside Your Course Creation Membership. Inside the Membership, I guide you through all the key steps of setting your own branding.
Simple and minimal is always the way to go if you’re unsure.
Remember – setting this will mean that THE SAME colors and fonts are used in all of your materials so your brand is well aligned and all of your content online is on the same wavelength.
This can be a hard decision to make as you might feel like you want it all or the opposite – you just dislike all the options…
Give yourself some time, explore what others are doing online, seek inspiration, check Instagram pages, notice what you like/dislike and you’ll find the perfect direction.
Your branding doesn’t have to be set in stone for forever (I changed my own branding probably 5 times in the first year alone…) – but you want to make sure that you can stick with this throughout your course. And hopefully beyond!
It took me a while to settle on my own branding and be truly at peace. Until this day, you can still see some older presentations and samples from me that use my old branding.
STEP #4: Find relevant templates
Okay, honestly, this step is the KEY to successful online course designing all on your own. TEMPLATES can work like a charm.
See templates as a helpful base for your course design. You should always adjust the branding to your colors and fonts, align everything to be consistent.
So what to keep in mind when searching for the best templates?
- I’d definitely suggest paying for your templates. Canva offers plenty of great options for free but template markets like CreativeMarket have so many bundled options that have it all set for you. It truly can save loads of your time and make your content look AMAZING. It’s a one-time investment that you can later re-use as needed.
- Consider the type of content you’ll be creating. Will you need to share a lot of images? Are flow charts and graphs important? Some templates will be very focused on a specific niche or type of content. Keep that in mind.
- It’s also important to know which designing tools you’ll be using because each template will be based on a different designing tool. The easiest will be to find Canva and/or InDesign and Photoshop templates when it comes to online course design materials. However, there are also plenty of other options.
- Keep in mind the educational materials you want to create – slides, workbooks, etc. On CreativeMarket you can find plenty of BUNDLE templates. Such bundles can include several different templates, for example, presentations, workbooks, e-books, as well as other content variation. Therefore, before you decide on which template to buy, make sure to look into what type of content it offers.
Here are some samples:
Online course slide templates –

Webinar and Course slides template

Slide deck Masterclass webinar

Webinar slide deck for a coach
Online workbook design templates –


Canva & InDesign eBook Template Kayla
STEP #5: Brand-align your template
As you’ve purchased your perfect fit template, make sure to brand-align it before creating your course content.
Possibly you already have some brand guidelines ready. But if that’s not the case, make sure to choose what colors and fonts you’ll be using through your online course design.
Then, set up a brand guide for yourself so you can check in on it when designing any of the course materials. A brand guide is like a reference book with all the relevant info, for example, color codes and font names you’re going to be using. Having a brand guide at hand will help you to stay consistent through your designs and it will also save loads of your time.
Do you seek support with your online course design? Explore my done-for-you course design offers!
These 3 simple steps give you a chance to design your online course without much of a hussle.
The most important thing to remember is to STAY CONSISTENT. Choose the design elements that will work through all of your designs, either those are presentations, promo materials, workbooks or anything else.
Don’t switch up your colors, fonts or base presentations, it will help your design to stay more enjoyable.
Do you feel ready to design your online course? If not, what seems to be holding you back?
Other related reads:
- How to create a course curriculum?
- 6 types of learning materials to add in a course
- Online course sales page template
Stay tuned and find out all about the latest articles on our Instagram: @coursecreationlab
Learn to plan, create & scale your online course in Your Course Creation Membership!